
Hello there, this is tradingpedia.com and this video deals with a trend indicator, one of the most powerful trend indicators ever invented – even more powerful than the moving average, if you want. It is not only showing the market direction, but also the strength of a trend and that is tremendously important when trying to identify the start or the end of a trend.
Overview
This indicator appears on any trading platform. This is the MetaTrader4 trading platforms and you can find it under Insert/Indicators/Trend, and the indicator is called the ADX Directional Movement Index and if you apply it on a chart these are the standard settings of this indicator.
As you can see, when applied on a chart, the oscillator has some curious colors, and we cannot quite use them. Therefore, before anything, what I like to do is to change the colors for the DI+ and DI-, the signal lines. Let’s make these ones black and red, so we can see them better.
There are three lines on this trend indicator. Unlike other trend indicators, this one is applied on a small window at the bottom of the chart. Normally, trend indicators appear on the main chart – not this one!
How to Interpret the Signal
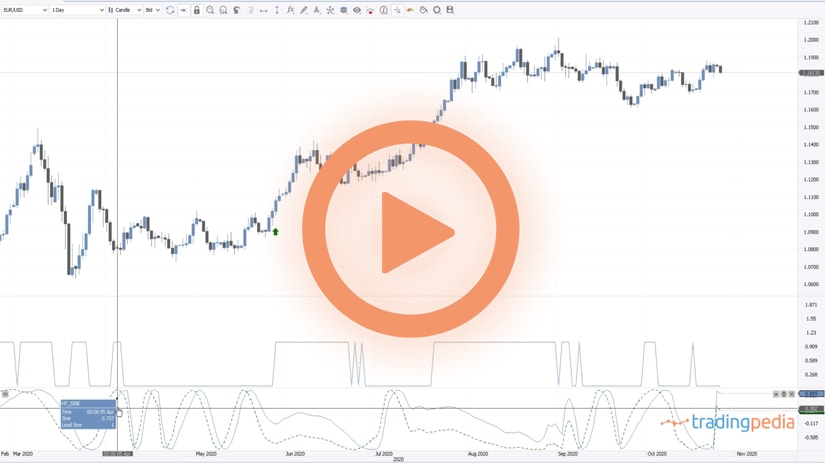
The focus here is to interpret the signal provided by these two doted lines – the DI+ and the DI- in relation to this continuing line (the blue line). The blue line shows trending conditions and the intersection between these two shows the direction of the trend. So, if these two cross and show bullish conditions then we want to see if that cross formed when the market was trending or not.
If the market was trending and offered a bullish signal, we want to be long. Or, if the market was not trending and the signal is still bullish, we want to wait until bullish conditions are in place, before going long. But how to define trending conditions, because the ADX travels only in positive territory and it has no other values. However, we must define what the trending conditions are. In order to do so, we must look at historical prices and consider that not all currency pair travel the same distance. For instance, EURUSD travels a certain distance, the EURGBP a different one – crosses and majors, in general, travel different distances.
How to Add a Level
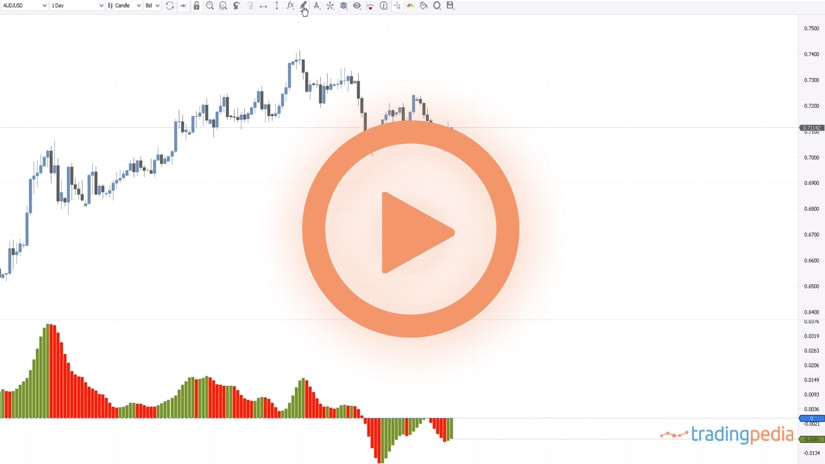
In order to add a level, we must make a right-click, find the indicator and select it, and then we add a level that should mark the difference between trending and non-trending conditions. We see here on the AUDUSD pair that these are trending conditions, but when the ADX moved lower, the trending conditions are not in place anymore. Therefore, we may say that the 20 level on the ADX satisfy the trending condition. As such, whenever the ADX is below the 20, these are no trending conditions. And, when it moves above 20, it forms trending conditions.
Of course, as I mentioned earlier, we must be flexible with these levels. On some pairs it may be that the 25 is an appropriate level, or, on some other pairs, the 40. What is important is that any signal that you will see coming from the two dotted lines, if it is not accompanied by an ADX bigger than 20, then it should be ignored. The bigger the value of the ADX, the stronger the trend is.
An Example
Let’s focus on this chart showing the price evolution on the AUDUSD pair since March 2020 and interpret the signals generated by the indicator. This would be one signal – a bullish one – we should buy here, but before doing that, we should check where the ADX is. Is it rising or falling? If it is still falling, while the bullish signal forms, that is not something that we want to see. We want to wait for the ADX to turn, to be above 20 and rising before going long. Therefore, this would be an appropriate entry, remaining invested all the way until trending conditions ended. Why? Well, the two dotted lines, the DI+ and DI-, crossed in the opposite directions.
This one here is a bullish signal given by the cross, but the ADX is below 20 – ignore it. But then, the ADX moved above 20 – and that is a nice place to go on the long side.
The trend held from this moment on all the way until here. Next, another signal appears here, but we should wait all the way until the ADX starts rising. When it does so, we see that the distance between the DI+ and DI- also increases – another signal to go on the long side right here.
Related Videos
Conclusion
To sum up, think of the ADX offering a strong trending signal as long as it remains above 20, but focus on the DI+ and DI- lines’ intersection. In bearish trends, when they signal a bearish trend, the ADX should be above 20 and rising, and on bullish trends, the ADX should also be above 20 and rising.
Thank you for being here and have a great day – bye, bye.